
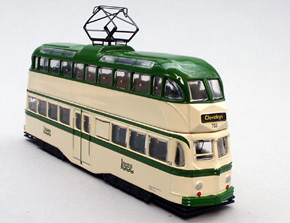
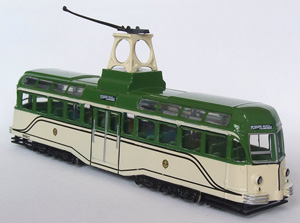
This is a guide to motorising the Balloon and Railcoach Blackpool trams made by Corgi, using the motor units made and sold by Connexions2011 on ebay (There is no direct link to the specific unit, as eBay items are ephemeral, so you’ll just have to go by the photo to identify the item you need).
This may seem like nothing more that a re-write of their instructions, but it includes my observations and thoughts on the process as it goes along. With photos.
What you will need
A Balloon or Railcoach model.
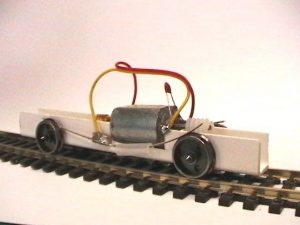
A motor unit
Some tools
- 3mm Phillips screwdriver
- A scalpel
- A Dremel (or cheap Maplin copy)
- A straight bit of OO track
- Milliput
- Superglue
- Somthing to keep the bits in – I use a Bold 2in1 detergent box – its the perfect size:

So here we go…
Start by taking out the screws A, B and C.
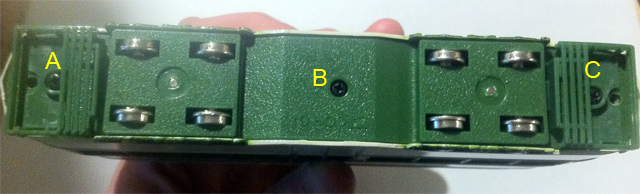
The lifeguards at the ends should just pull away. Put everything you’ve removed in the storage box. And assume that from now on you’ll be doing the same with everything you remove.
Next get the Dremel (or cheap Maplin clone) out, and drill around both of the metal poles between the wheelsets with a 1mm bit. Make a better job of it than I did.
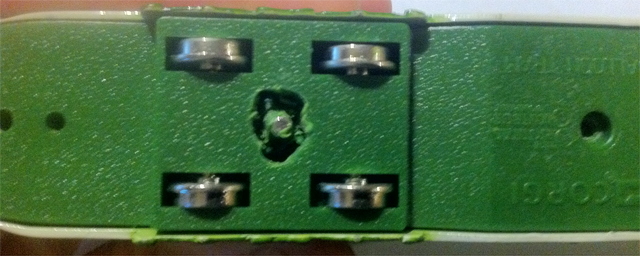
You can now prise the base plate off by inserting a thin blade under each end of it, twisting slightly, and dropping the wheelsets on the floor. You’ll be wanting to pick them up.
Now you should have some twisted melted plastic bits stuck to the ends of the poles.
By a combination of whittling, grinding, and frantically twisting with a pair of pliers, these should come off an allow the whole tram to fall apart.
At this point you might want to do any dressing up of the top deck that you have planned, such as painting the floors, adding seat upholstery and mounting figures. I’m not doing that on this one.
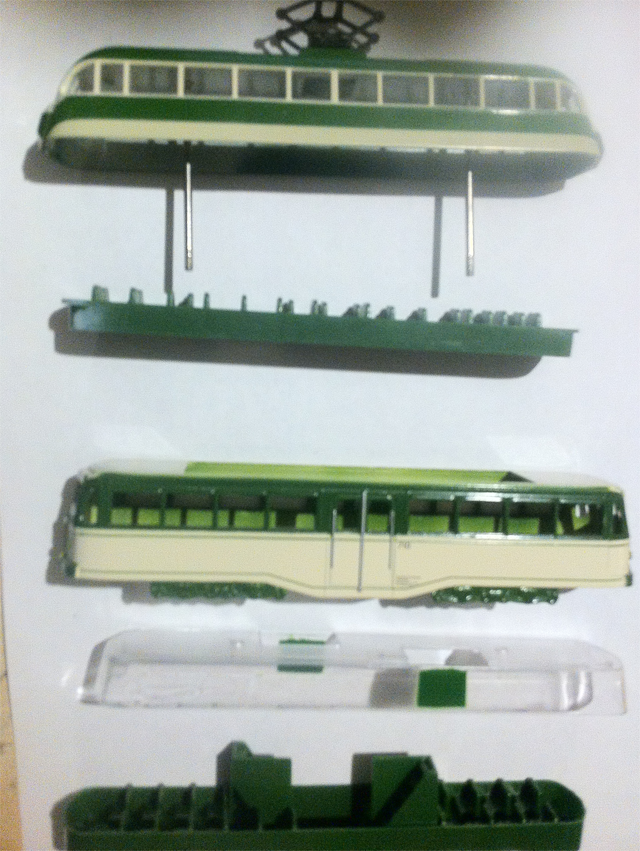
Now you should have the roof unit with two poles sticking out from it.
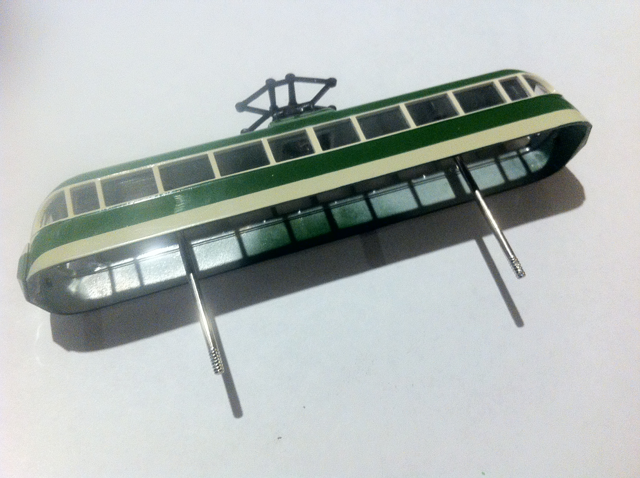 These have to be removed, but take a lot of wiggling to do so. You might want to unbolt the pantograph/trolley pole mounting to avoid damage. If you do so, remember to re-attach it afterwards, just to avoid the screaming later on.
For now put the upper deck diecast part, upper glazing unit and upper seating area to one side. We’ll get back to them in a while.
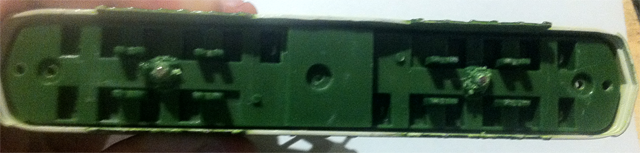
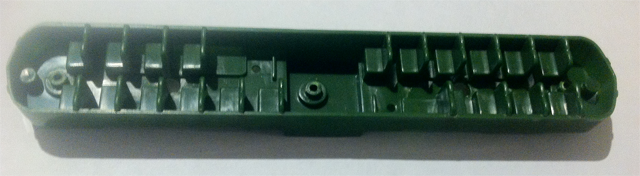
Take the lower seating deck, and pull out the steps.
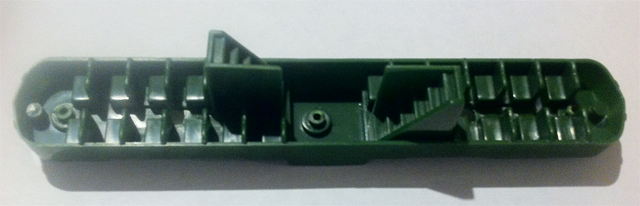
This is where we get destructive. We need to cut out a large area of the lower seating area. This is also where I deviate from the suggested instructions. The suggested idea is to re-mount the outer wheelsets. I’m not doing that, so I’m cutting the mounting points out and running the tram as a four-wheeler. This is in an attempt to get the tram to negotiate a tighter curve than a 12″ radius.
I’ll get back to that in a moment, but for now let us deal with the upper deck sections, lower deck casing and lower deck glazing part.
Glue them together so that they all fit. Superglue is good.
Now we get to the nitty-gritty. We need to make the motor unit fit into the lower seating deck area in such a way that
If you are squeamish about poor workmanship, stop reading now, cos its going to get really ugly.
Cut out enough of the lower deck to fit the motor in:
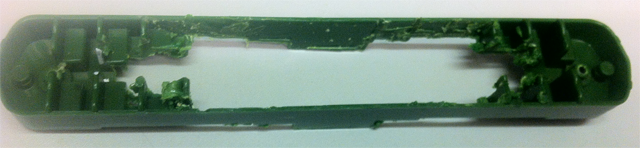
Fit the motor from below:
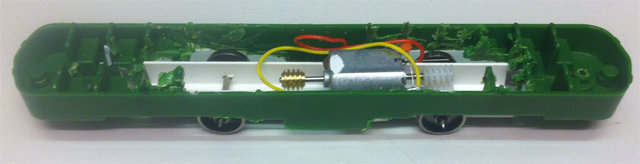
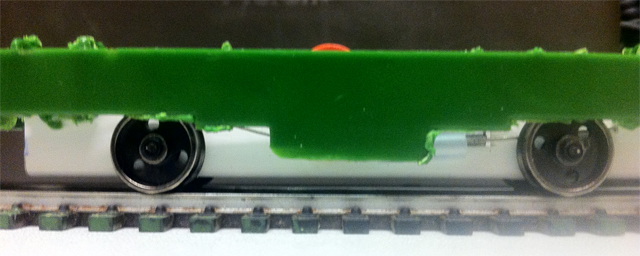
Now get it in to place to that the wheels are clear of the plastic and its got this much clearance:
At this point you should be marking out where to drill mounting holes and brackets and things of that kidney. So I just decided to hold the ends in place with lumps of Milliput:
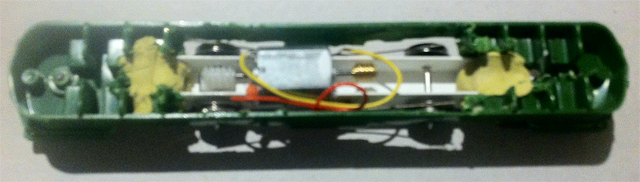
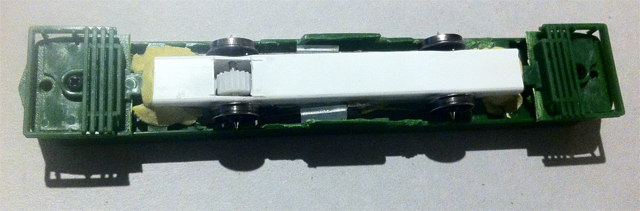
These pics also show that the ends of the baseplate and life savers have been refitted.
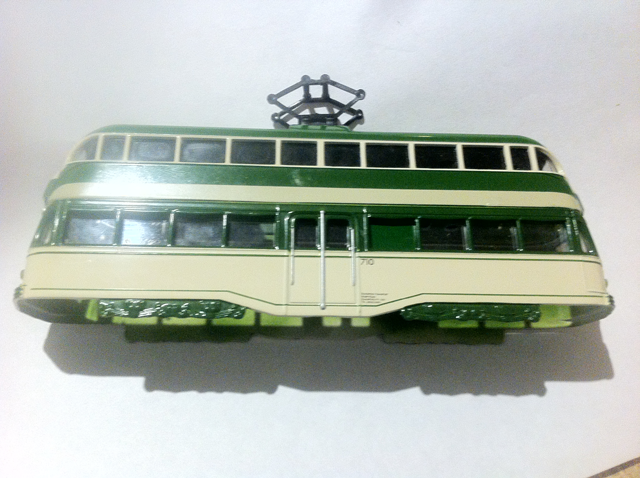
Now all that there is to do it put the already assembled upper section on top of it, and have a look at it:
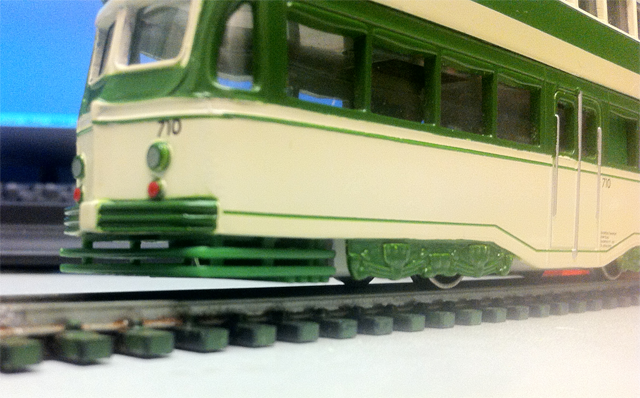
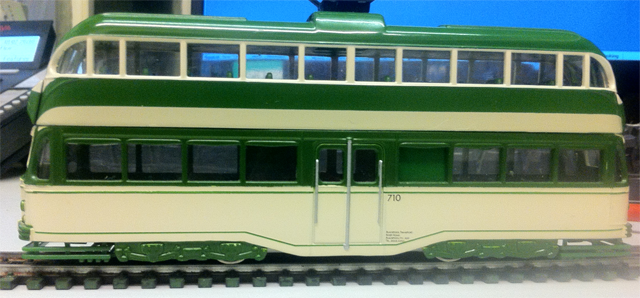
You can hardly tell that there aren’t bogies under there!
And thats it!