
The nanoVNA is a bit of cheap kit that anyone with an interest in radio should own. I got mine from Amazon for £44.98.
Apparently you can use these devices for loads of things but, to be honest, I don’t really know what I’m doing. So please bear that in mind.
There are many tutorials on t’internet on how to calibrate them, but most seem to be in video format. which I think is cock all use, as you have to keep rewinding bits. A simple text version (with pics) that you can refer to is what I wanted. So, I had to make one.
“What’s In The Box?”
Obviously, the nanoVNA itself:
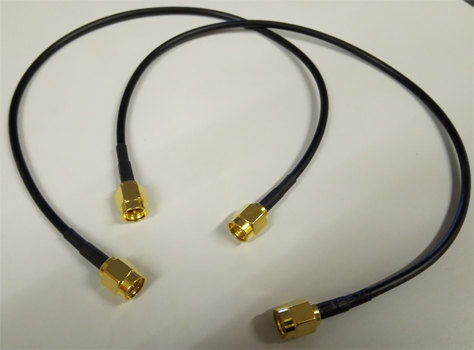
And a couple of patch leads:
And some connectors:
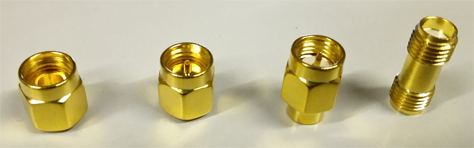
Which, from Left to Right, are: Open, Short, Load and a barrel connector. The barrel is just for connecting your cables together. The other three are used during calibration (so don’t lose them).
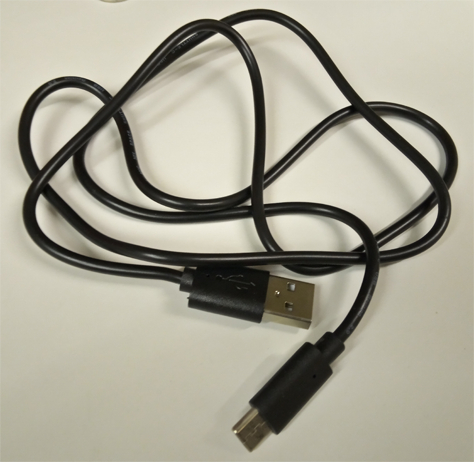
And lastly, the USB charging cable (Type C, no less!), which is plenty long enough, and not one of those piddly little ones that means your’re trying to balance the device somewhere inconvenient:
Rumour has it that you can also use it to interface to your PC, but I’ll get round to that sometime later.
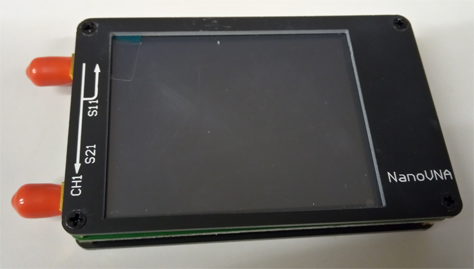
So, the actual device…
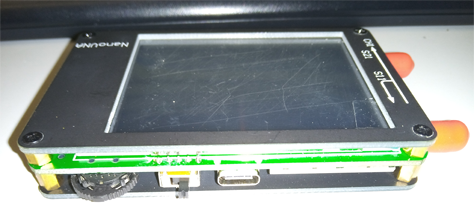
So there, in order, are the Multi-function rocker/press switch (to navigate through the menus – but really, just use the touch screen, it will be easier), the on/off switch, and the USB C charging/connection port. Hold it the right way up, and, of course, they will be the other way round.
Charge it up for a good couple of hours before using it.
So… On to Calibration!
Well, you only need to calibrate the thing the first time you use it, and then again each time you change the frequency range that you are looking at. As I’m mainly interested in the 2 metre Band (144.0 – 146.0MHz), I added a bit of leeway and set it to 143.9 – 146.1MHz.
But pick your own frequency range and add a bit. 25 – 447MHz if you want everything from 10m to PMR446, but you will loose the ability to see accurately see specific readings if you go for a large range. I don’t bother with that, as it only takes about 3 minutes to do a full range change and calibration (plus you can save your calibrations anyway).
So, we begin.
Starting with a reset, open the menu (by either tapping the screen or pressing the button), and navigate to CAL (rocking the switch up/down and then pressing it, or just poking the screen with the back end of a biro).
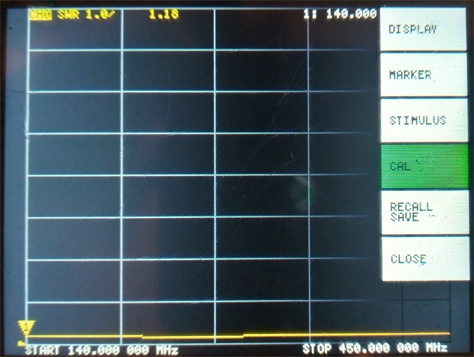
Then select RESET by the same method.

And then BACK.
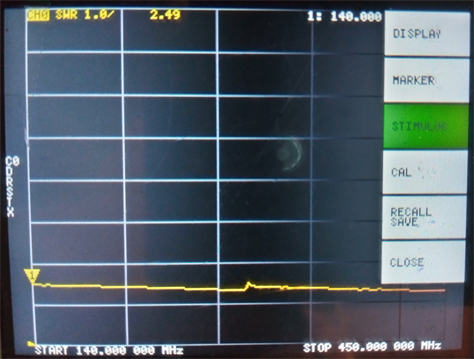
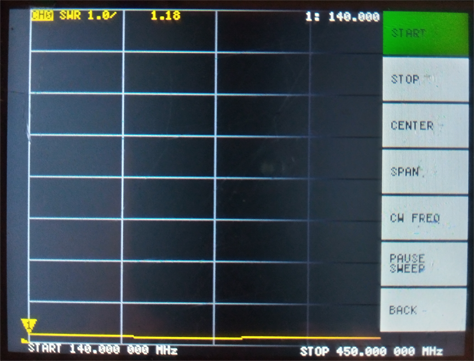
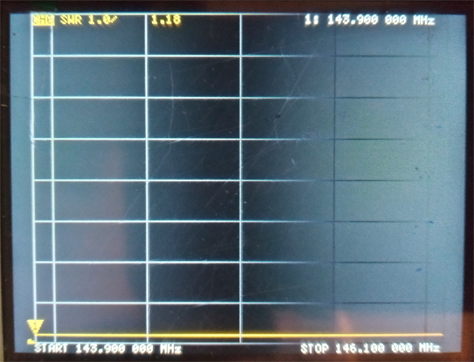
Next, we set the range (which you can see above was 140-450MHz while I was testing my Stupid Antenna).
So, select STIMULUS:
Then START:
It will bring up a screen like this, to select the start of the frequency range.
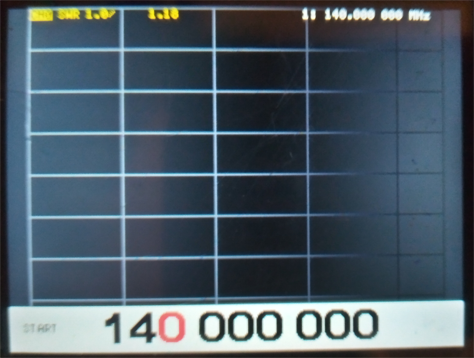
This can be a pain in the arse, so just tap with you prodder on the bottom right of the screen and bring up the keypad menu:
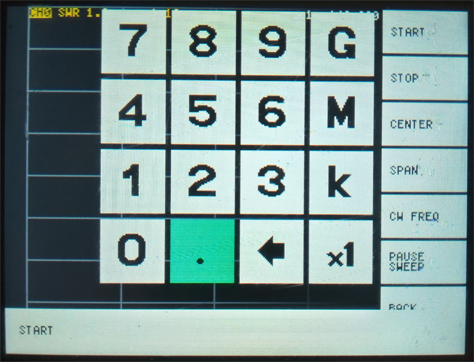
So, with your prodder, type 143.9M, bring up the menu again, do the same for the STOP option but set it for 146.1M.
It should look like this:
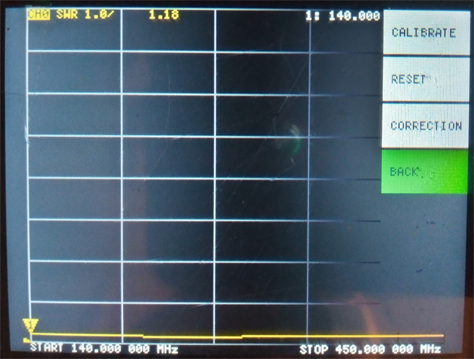
Now, with the frequency range set, it is time to do the ACTUAL CALIBRATION!
From the main menu, select CAL then CALIBRATE. And you should have this screen:
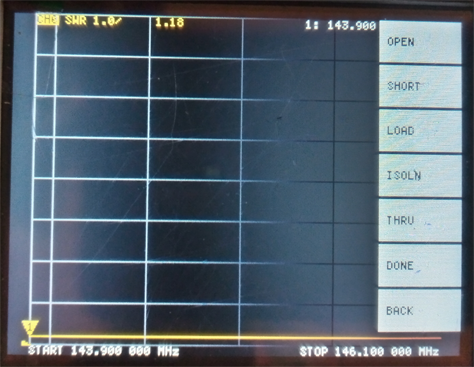
Down the side are the options: OPEN, SHORT, LOAD, ISOLN, THRU, DONE and BACK. So, in turn…
- Connect the Open Connector (see above, the one without a central pin) to the CH0 port (top left, not labelled on mine, but obvioulsy not CH1). The select OPEN,
- Then connect the Short Connector (that the shorter one with a pin in it) to CH0 and select SHORT. Note, that as you do theses, the completed ones are marked by inverted text/background.
- Connect the Load Connector to CH0 (this is the longer one with a pin, which also has a plastic insulator inside it). The Select LOAD.
- Now, if you have two Load Connectors, connect one to each of CH0 and CH1. If you only have one, connect it to CH1. Select the ISOLN option.
- Next, take one of the Patch Leads, and join CH0 to CH1. The select THRU.
- Disconnect everything, and select DONE. This will bring up a list of save points where you can save this calibration for later: SAVE0 – SAVE4. Pick one and remember it if you want to bring it back after doing another config for a different frequency range.
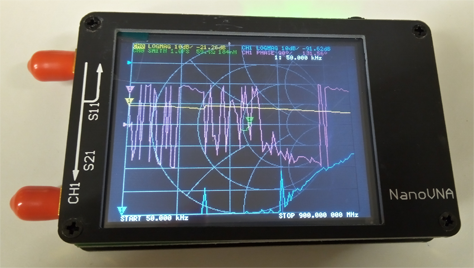
Now, back on the main screen, its time to set what sort of data you want to display. Really, I only want the SWR sweep, so from the menu, select DISPLAY, FORMAT, SWR.
Now connect your antenna (probably using a myriad of adapters) to CH0, and look at the results.
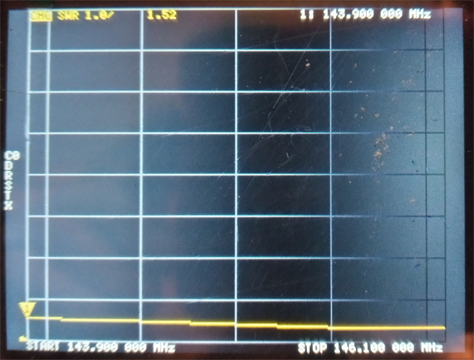
Slightly worse that when I build the damn thing, but it probably has water in the cable somewhere by now. Still acceptable though.
Now to recalibrate it and run it on the 11m/CB aerial on the car, and my Dipole efforts.